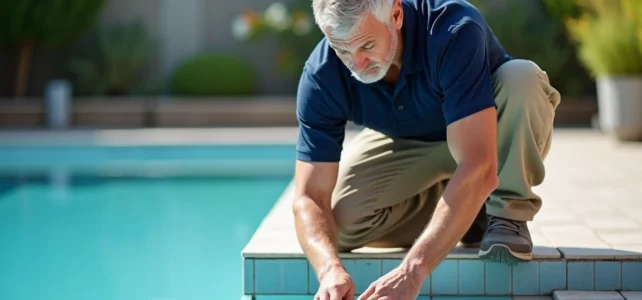
On a tiled pool basin where the cement joints are starting to erode, the temptation to cover directly with epoxy is strong. The time-saving seems obvious, and the thought of complete joint removal is daunting. However, the difference between an epoxy joint that lasts for years and a covering that peels off after one winter lies almost entirely in the preparation of the existing substrate.
Invisible contamination of the substrate: the real failure factor of pool epoxy joints
We often talk about adhesion and chemical compatibility. In practice, early detachments are more frequently due to a substrate contaminated with silicone, grease, or laitance than a defect in the epoxy product itself.
An old cement joint in a pool has spent years in contact with treatment products, algicides, and sunscreen dissolved in water. These residues embed themselves in the porosity of the mortar without leaving visible traces. Applying epoxy over it means gluing on a surface that repels the resin in places.
Lightly acidic cleaning followed by thorough rinsing before complete drying removes a good portion of these contaminants. Skipping this step or rushing it, thinking that a Kärcher is sufficient, compromises the entire operation. To successfully apply epoxy over an existing joint, we always start by treating what we cannot see.
Partial removal before epoxy: the anchoring depth that conditions the warranty
Covering an old joint without digging it out at all is the riskiest configuration. Several technical documents from manufacturers now require a deep partial removal before covering, with an anchoring depth of at least half of the joint, sometimes up to two-thirds.
Below this threshold, the epoxy layer is too thin to absorb the micro-movements of the basin. It eventually cracks or peels off in sheets, especially in corners and areas of coping exposed to thermal variations.
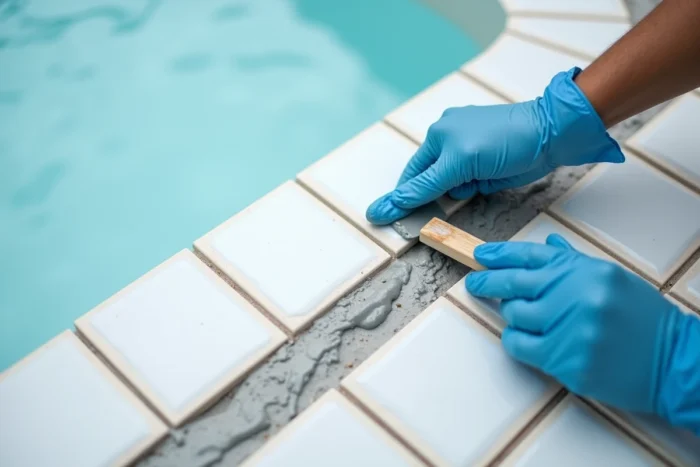
Equipment and method for effective removal
A manual scraper remains the safest tool to avoid scratching the tiles, but on a large mosaic surface, it quickly becomes exhausting. An angle grinder equipped with a fine disc can speed up the work, provided the depth of cut is controlled.
- Joint removal scraper for areas near fragile tiles or sealed parts
- Construction vacuum after each pass, as residual dust in the grooves prevents resin adhesion
- Fine wire brush to remove crumbling parts without damaging the healthy substrate
The validation criterion is simple: when running a finger through the cleared joint, no powder should come off. If the cement still crumbles, we dig deeper.
Residual moisture test before applying epoxy in a pool
A drained pool may appear dry on the surface while moisture is rising by capillarity from the concrete structure. Epoxy does not tolerate this type of trap.
The plastic sheet test taped for 24 hours allows for detecting invisible condensation. A square of clear plastic film is fixed directly over the joint area to be treated, the edges are sealed with adhesive tape, and we wait. If fog or droplets appear under the film, the substrate is not ready.
Forcing the application on a damp substrate produces a result that seems correct for the first few days, then blisters form under the resin. At this stage, everything must be redone. Feedback varies on the drying time needed after draining, as it depends on the season, the thickness of the slab, and the ventilation of the pool.
Cleaning the epoxy film on porous pool tiles
The application itself creates a trap that beginners discover too late. Once spread, the epoxy resin leaves a film on the surface of the tiles. On smooth tiling, a wipe with a damp sponge in the following minutes is sufficient. On tiles with a porous or textured surface, this film embeds itself and becomes nearly impossible to remove once hardened.
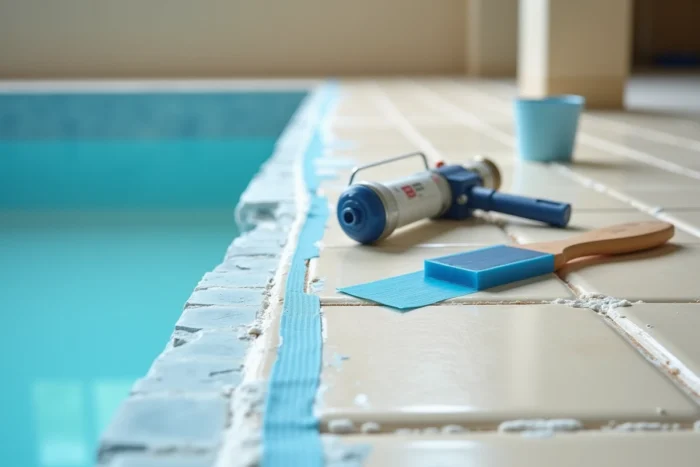
A precaution during the job is to temporarily protect the tiles with a soap and water film or a specific protective product before application. This film creates a barrier that prevents the epoxy from penetrating the micro-cavities of the tile.
The other critical point is the cleaning window. You have a few minutes after application to remove excess material. Working in small areas rather than on the entire surface of the pool at once avoids ending up with a hardened film that is impossible to recover.
Zone organization for a complete pool
On a standard-sized pool, dividing the work into sections of one to two square meters allows for better control. You apply, smooth, clean the tiles, then move on to the next area.
- Prepare the epoxy mixture in small quantities to prevent it from starting to harden before finishing the area
- Keep a bucket of warm water and a clean sponge nearby to immediately wipe up any spills
- Progress from the bottom of the pool towards the coping to avoid stepping on freshly treated areas
The dosage of the two resin components must strictly adhere to the manufacturer’s proportions. An unbalanced mixture will never cure properly, even under ideal temperature conditions.
Applying an epoxy joint over an existing pool joint remains a feasible operation, but it does not forgive approximation. Partial removal, moisture control, and immediate cleaning of residues are the three steps that separate a durable result from a job that needs to be redone in two years.